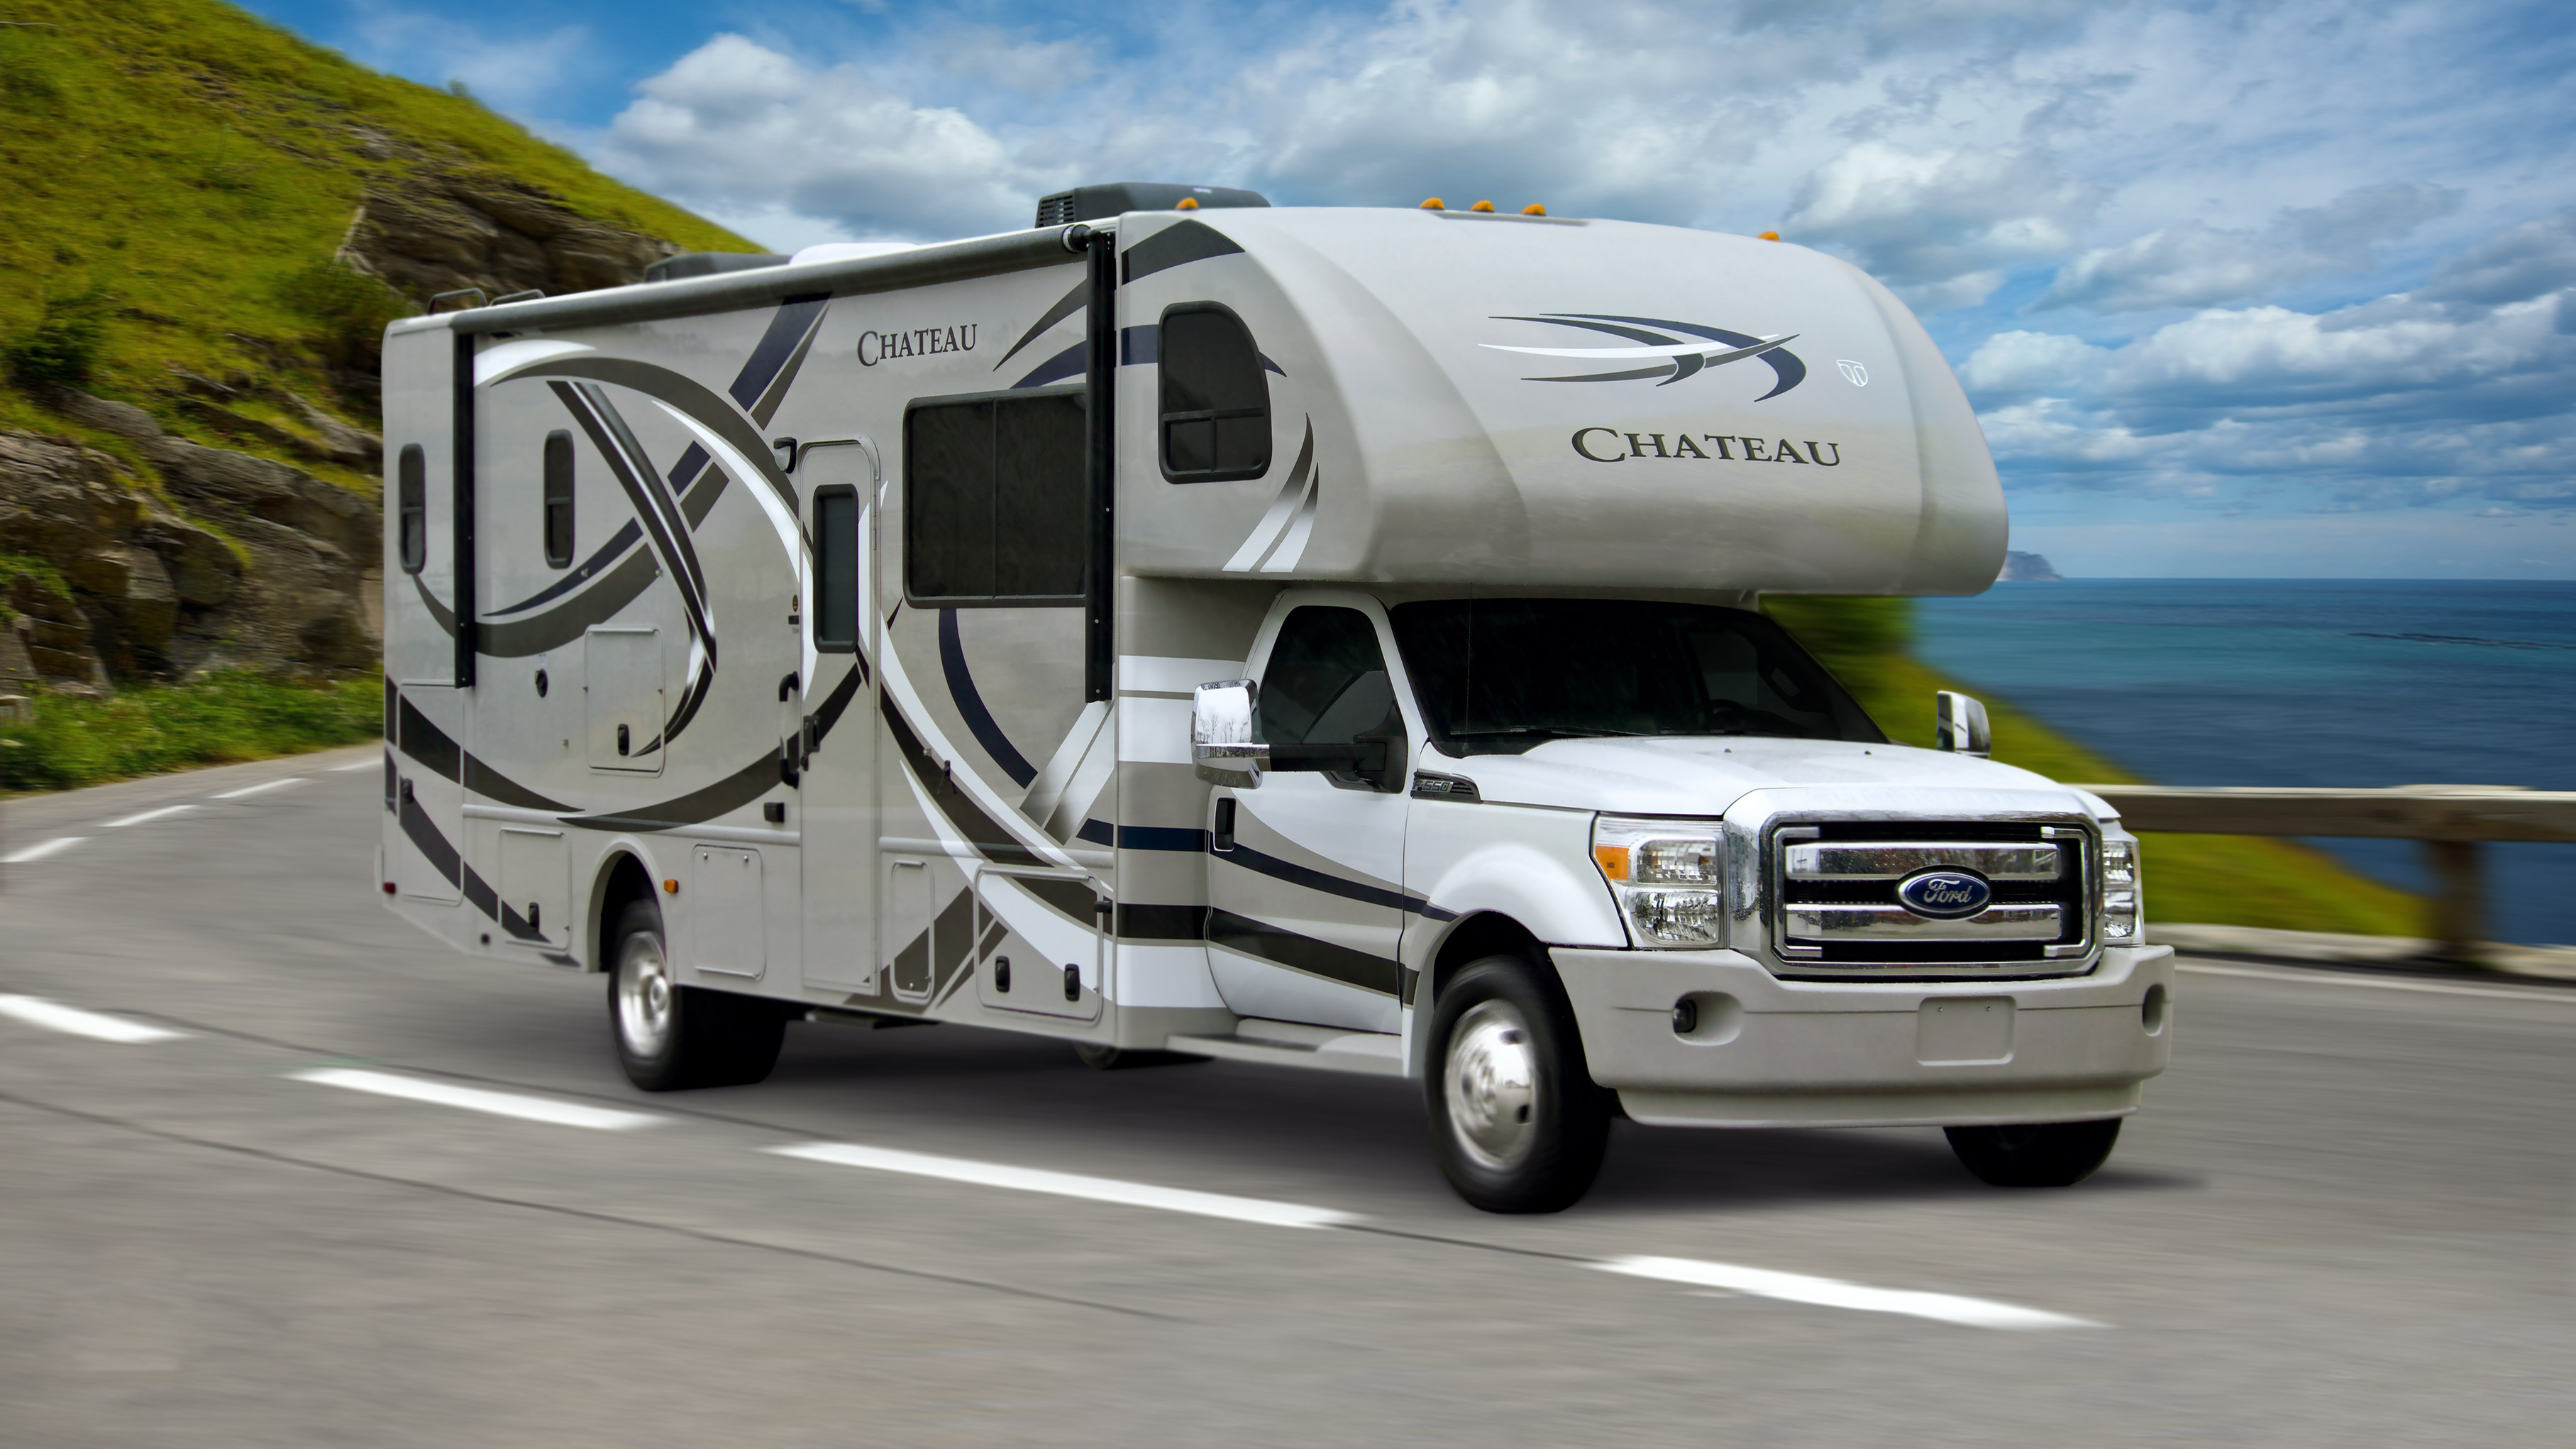
Unless you’re headed to a warmer climate for the winter, fall in the Midwest is the time to start preparing your RV for winter (as long as you’re done using it for a while, that is).
The elements can wreak havoc on your RV’s systems and exterior, but with these five RV winterization tips, you can take steps to protect your investment and make sure it’s ready to go in the spring. Before you get started, though, remember to always check the owners’ manuals for both your RV and any appliances inside — and follow those specific instructions.
- Drain and blow out the water lines. Frozen water will do a real number on your RV’s water system. So, clear the lines and drain the tanks, and then add nontoxic (not automotive) antifreeze following the specifications in your manual.
- Clean the interior. You don’t want food to spoil and risk mildew on bedding and clothing, so remove all of it from your RV. You also want to get anything out that will attract animals and insects looking for a cozy winter home. After you clean the interior, open up the cabinets and fridge and leave them that way. Close your blinds to keep the sun out, too.
- Then, tackle the exterior. Clean all surfaces, including tires (which should be properly inflated), and then put on an RV cover if you have one. Make sure awnings are dry before you roll them up, and close all the windows and doors.
- Find a good place to park. After you’ve spent all this time getting your RV protected for winter, don’t park it somewhere unsafe, where a tree could fall on it or high weeds will attract insects.
- Watch the battery. Actually, don’t watch it — disconnect it, particularly if you won’t be driving your RV for at least 30 days.
Bonus tip: While you’re not driving your RV, call us to discuss your insurance coverage. You may be able to save money on your policy if it won’t be on the road for an extended period of time.


